To make your CamON Live Streaming powered devices accessible from the Internet, you may want to create a media server that can collect and distribute all streams efficiently.
MistServer is one of the leading media servers, with an open source core. It allows you to take any media from any location using any method, and deliver it to anyone, anywhere, in any format. There's also a professional solution, MistServer Pro, which takes the reliable and trusted core of MistServer, and builds professional features on top, ready for enterprise-level use.
Seems to be good enough for us, don't you think? Let's put it to the test!
Download and install MistServer
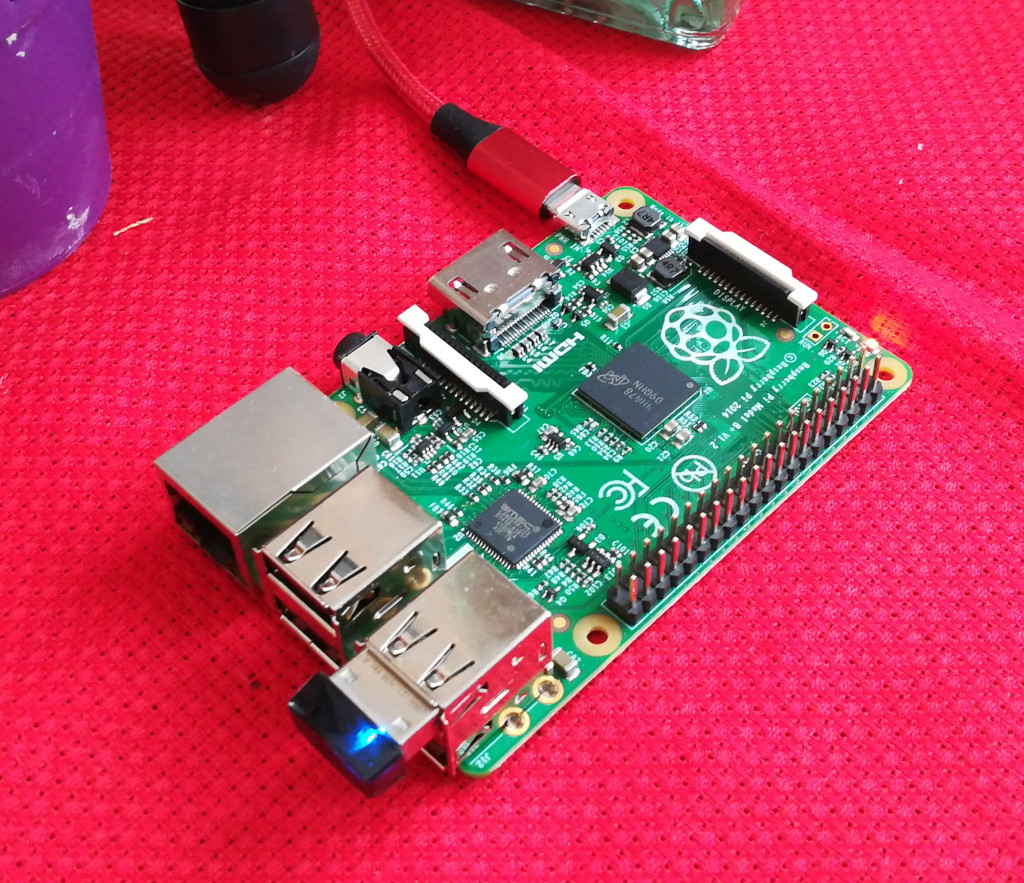
You may have a not so powerful machine to use as the server, maybe an old PC or even a Raspberry. The best choice is to use a small footprint OS. As a graphical GUI is not really needed for the purpose, we may use Ubuntu Server LTS or Raspberry Pi OS Lite.
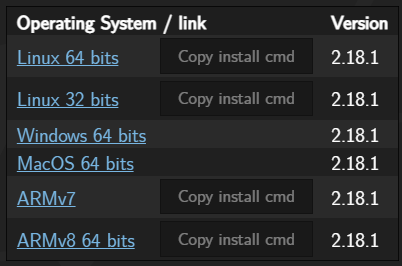
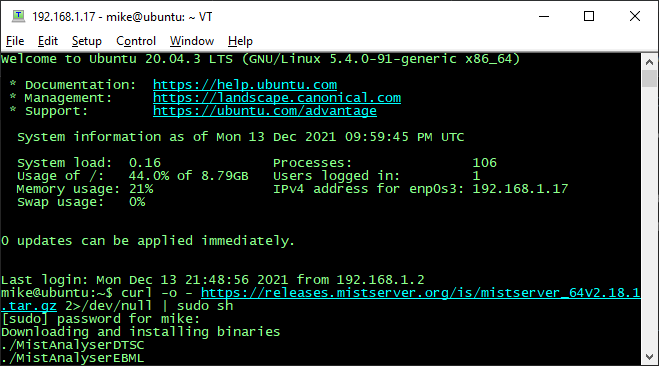
The MistServer free install links can be found on the download page, just select the one that corresponds to your operating system, then Copy install cmd to the clipboard.
TIP: use Linux 32/64 bits for Ubuntu, ARMv7 for Raspberry
Paste the link in the Linux terminal and the installation will complete in a while.
TIP: if you are not root, you have to add sudo just before the sh command, don't forget this step!
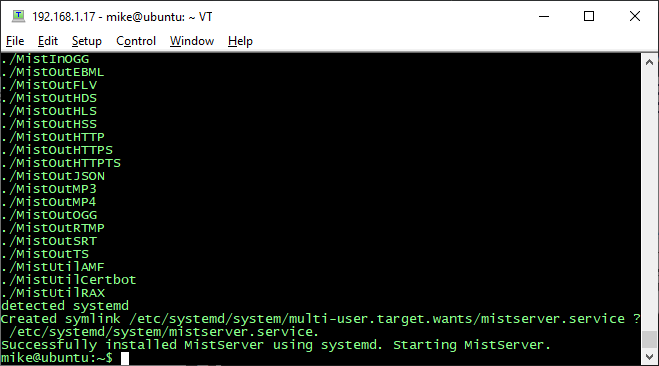

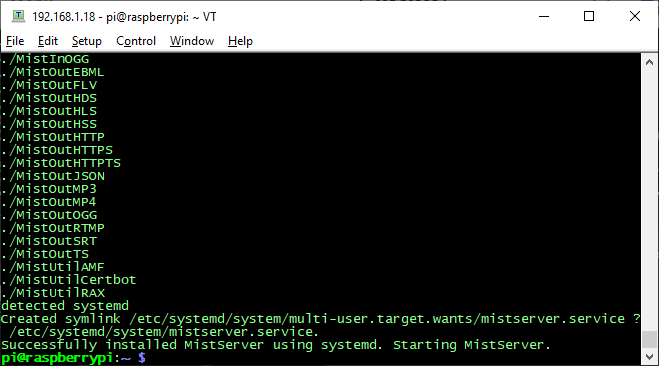
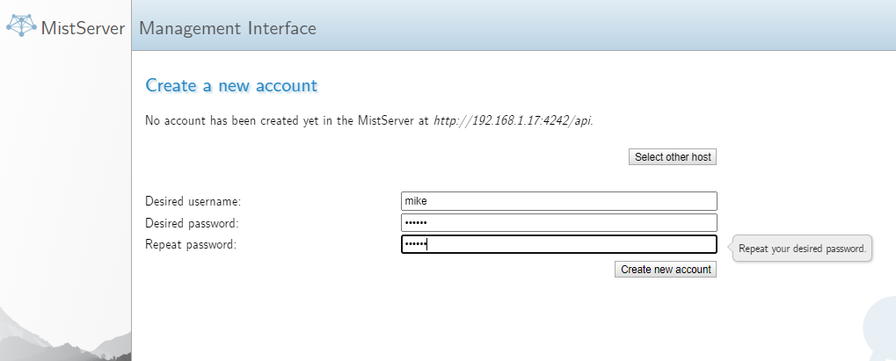
The server should now be up and ready, listening on its default port, that is 4242, and it should be possible to access its homepage by navigating to http://<ip_address>:4242/.
The first time we land on this page we will be asked to Create new account
and to Enable protocols (default settings are good enough).

Here you go, you are connected to your brand new streaming server!

Create the input streams
There are two main types of streams that can be used with CamON Live Streaming with pro and cons:
- RTMP push streams, where the audio and the video are sent by the device to the server
-
- work with the MistServer free version
- need to be started by the user, either manually or by using CamON Live Streamin API
- RTSP and HLS pull streams, where the server takes the audio and the video from the device
-
- need MistServer Pro
- don't need user interaction
You just installed the free version, so you should setup an RTMP push stream for the moment. If you like MistServer, you may want to purchase a Pro licence later to enable the other features.
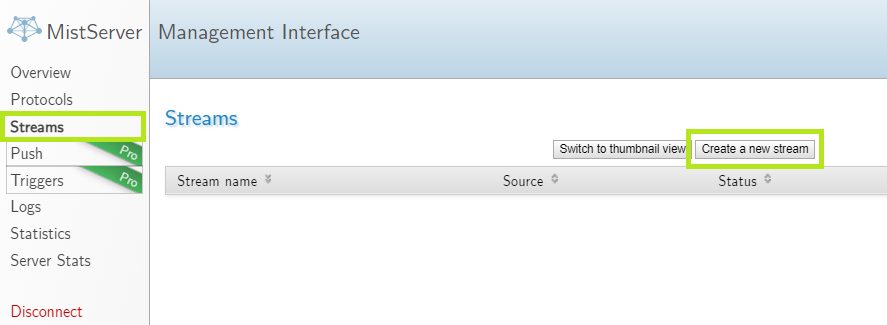
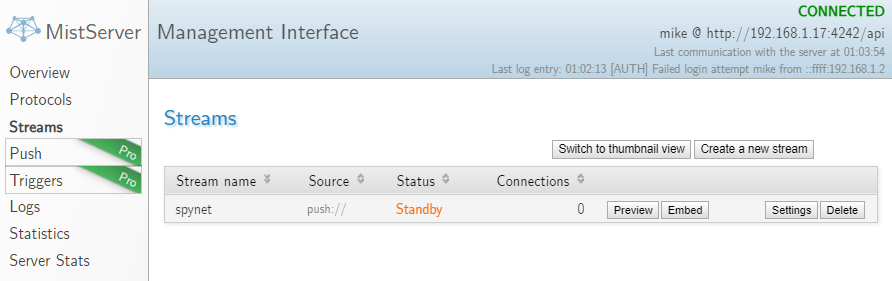
Select Streams from the menu on the left, then Create a new stream
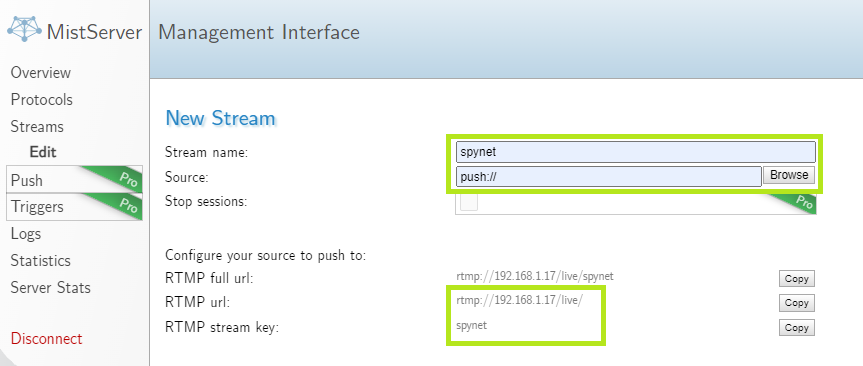
finally enter a Stream name of your choice and push:// as the Source.
The RTMP url and stream key to use are shown just below, take note of them, they are needed to configure the app properly.
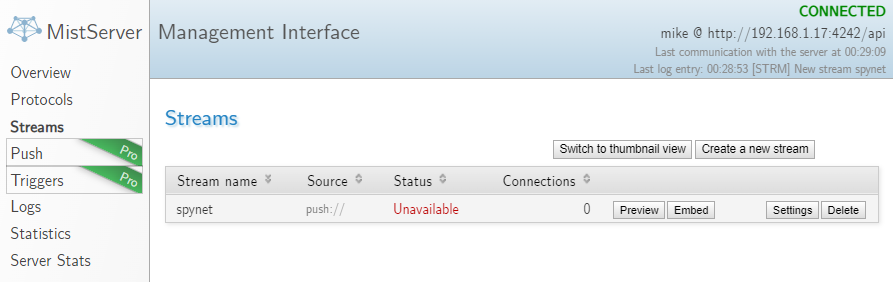
Save the stream and you are done.
TIP: if you have more than one device, you can create a different stream for each
Configure the app
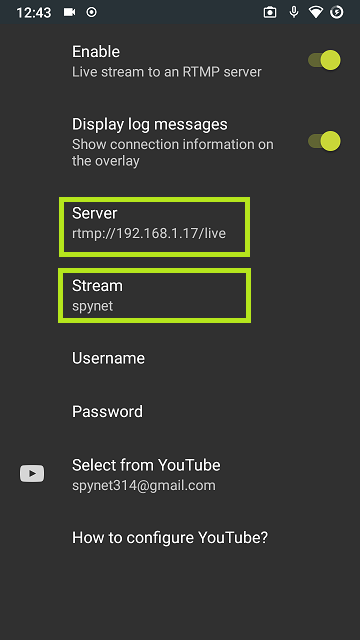
From CamON Live Streaming app settings, enable the Live streaming adapter and configure it by entering in the Server and Stream fields the RTMP url and streaming key which have been previously shown by MistServer.

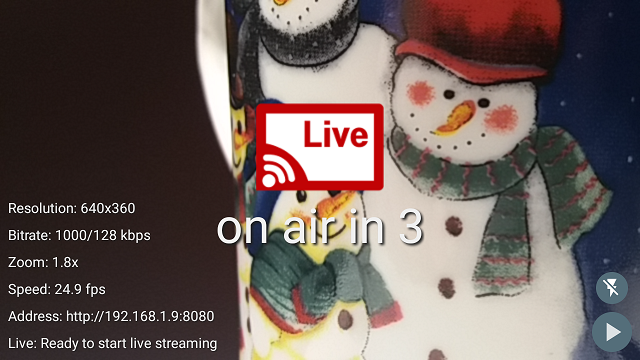
Start streaming
Once the Live streaming adapter has enabled, it will be possible to start the stream by using the arrow icon in the bottom-right corner. By tapping on it a countdown will be shown, at the end of which the device will connect to MistServer and start to stream on the specified channel (tap on the arrow again if you wish to abort).
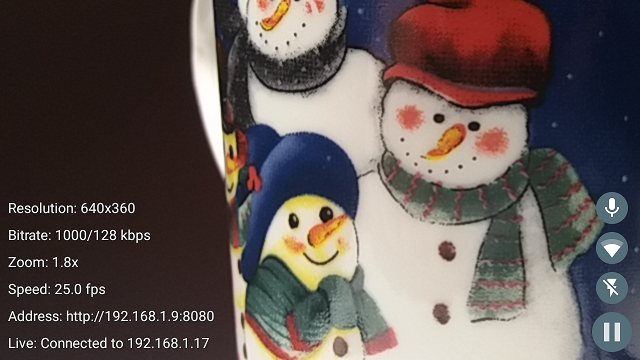
The MistServer's Streams page will reflect the new status after few seconds.
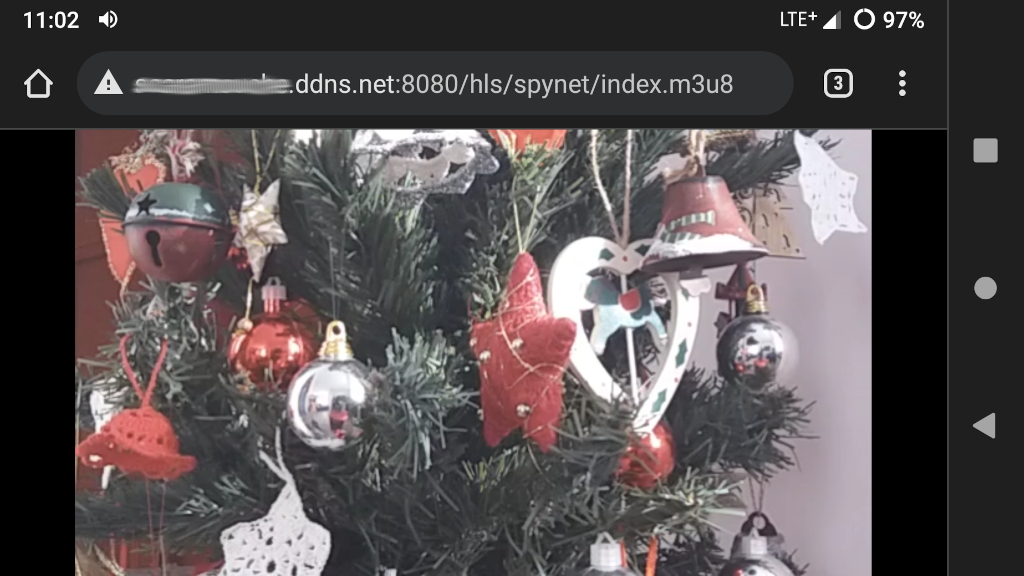
Connect the clients
MistServer processes the input streams and makes them available to the clients in a variety of formats, suitable for different media players, handling incoming connections and data buffering.
With Preview it is possible to try different combinations of players, protocols and sources.
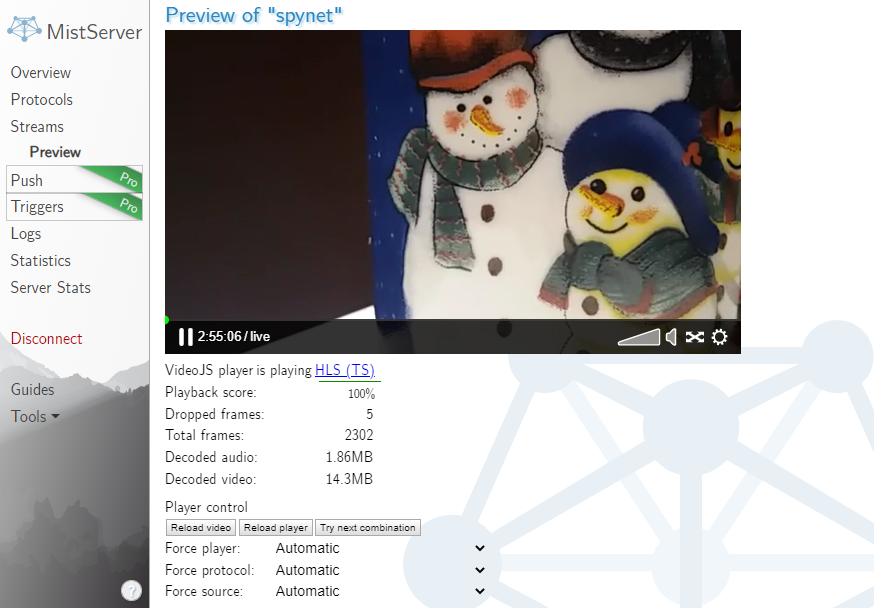
With Embed it is possible to interactively create the HTML snippet to embed a player in a web page. There is also an HTML page, which allows to try the code on the fly very efficiently.
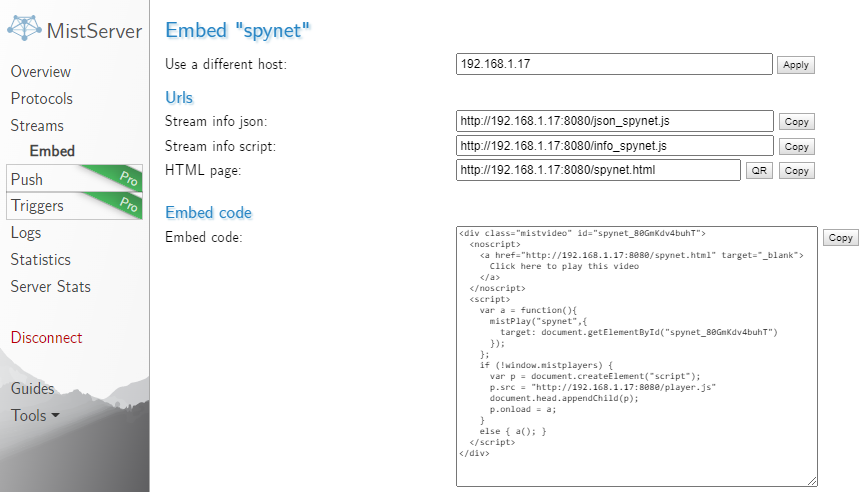
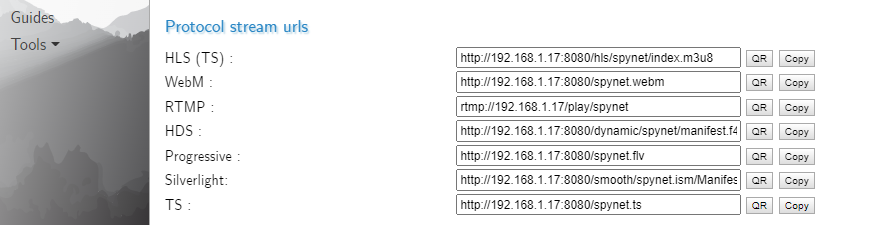
Direct links are also available, you can use the one that better matches your player (we love VLC, of course).


Please check the MistServer documentation to go deeper in what you can do with it.
Stream types comparison
With the courtesy of the DDVTech and Livepeer support teams (tanks to Ben, Mark and Balder!), we were able to install an test the Pro version as well. This allowed to verify the pull streams and to compare performances across all supported stream types, when running on hardware of limited capacity, that is the Raspberry Pi Model B+ V1.2.
Hardware specifications:
| Chip | Broadcom BCM2835 SoC |
|
Core architecture |
ARM11 |
| CPU | 700 MHz Low Power ARM1176JZFS Applications Processor |
| Memory | 512MB SDRAM |
CamON Live Streaming settings:
| Resolution | 640 x 360 px |
|
Frame rate |
30 fps |
| Bandwidth | 1Mbps (video) / 128kbps (audio) |
HLS pull stream:
|
Source |
http://192.168.1.9:8080/video/live.m3u8 |
|
CPU |
overall 36-46%, MistInHLS 22-29% (increasing while downloading a segment) |
| Memory | overall 57-64MB |
| Delay | 20s |
RTSP pull stream:
|
Source |
rtsp://192.168.1.9:8080/video/h264 |
|
CPU |
overall 36%, MistInRTSP 17% |
| Memory | overall 56-63MB |
| Delay | 6s |
RTMP push stream:
|
Source |
push:// |
|
CPU |
overall 62%, MistOutRTMP 35% |
| Memory | overall 56-63MB |
| Delay | 4s |
Based on the above results, we can say that RTSP pull stream is the best compromise between resource usage and stream delay (it also requires less bandwidth because of the underlying protocol).
Access the server from the Internet
In the previous examples, we always connected the devices to each other on a local network. Good, but how can we see our home cameras from the office or while on vacation? The answer is, once again, by using port forwarding.
It is always possible to configure it manually on the router. Anyway, if the router has the UPnP protocol enabled, it can be done very easily from our server, by using a simple command line tool.
Install upnpc (it is not commonly available by default):
sudo apt install miniupnpc
Route a couple of external ports of your choice to the MistServer's relevant ports, that are 4242 and 8080
TIP: you can think about using a startup script to automate this stuff
upnpc -a server_ip server_port external_port tcp
upnpc -a 192.168.1.17 4242 8181 tcp
upnpc -a 192.168.1.17 8080 8080 tcp
It should now be possible to access both the server and its output streams by using the public address and the configured ports, the router will do the job.
TIP: to know which is the public address of the router you can use whatismyipaddress.com
For a better experience, as the router IP can change over time, it would be better to sign up for a Dynamic DNS account and configure the router or server to update it periodically (how to do this depends on the service you signed up for). This way, instead of using the IP, you'll be able to use something like myserver.dyndns.org, much easier to remember and always up to date.